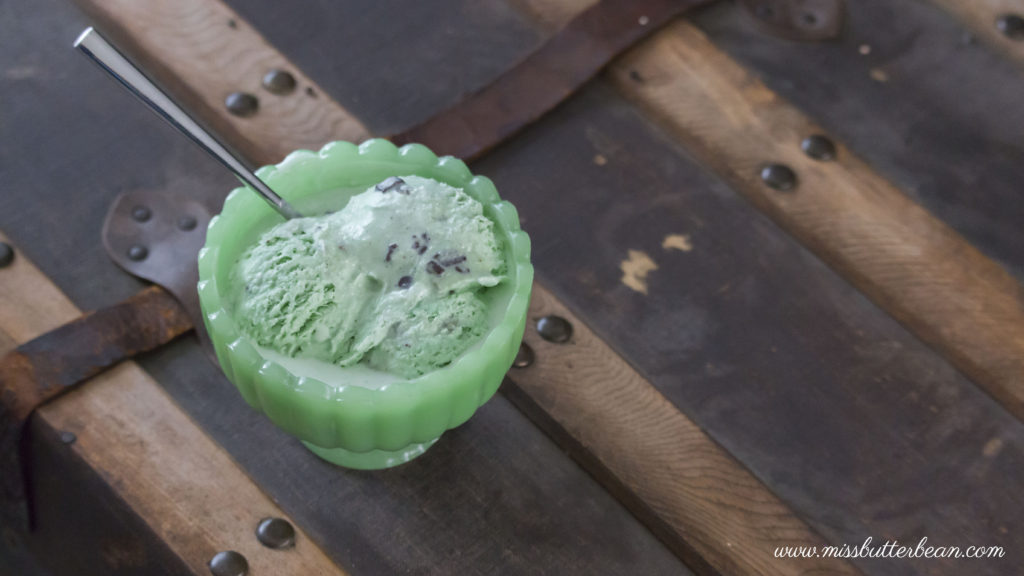
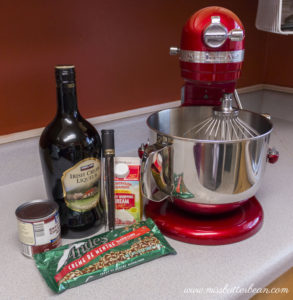
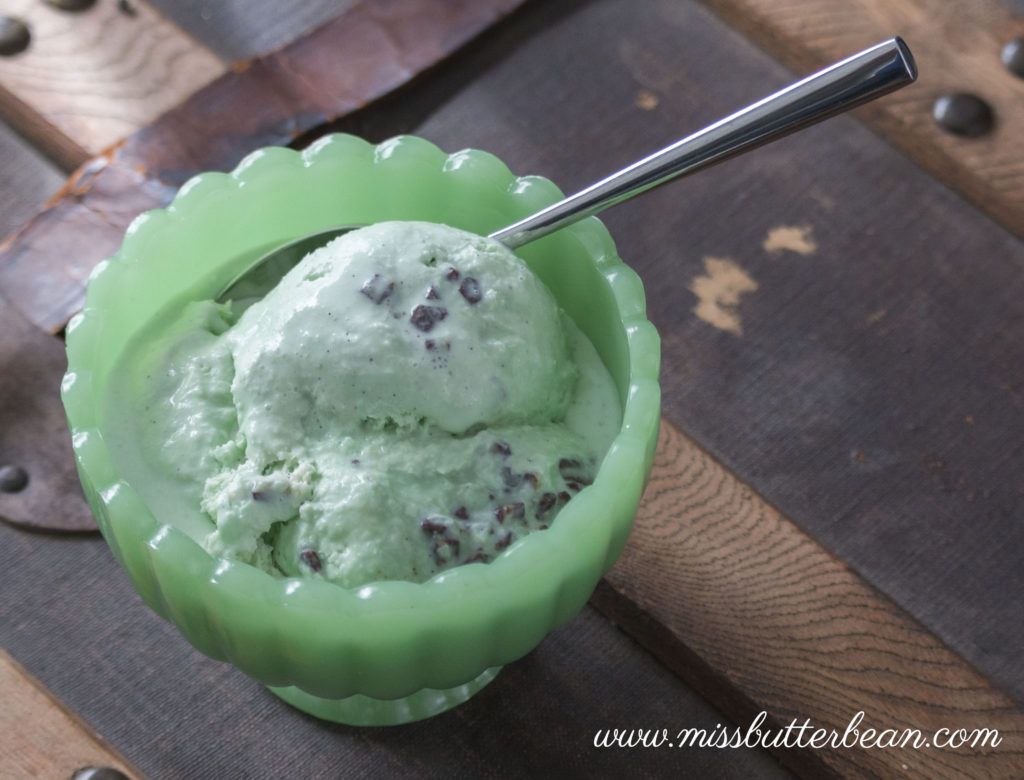
With St. Patty’s Day festivities in full swing, I decided to try an Irish twist on a homemade ice cream recipe I adapted from The Roasted Root. The Irish twist, of course, being Irish Cream whiskey.
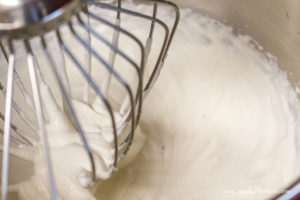
First off, this is a super easy recipe. I mean EASY. You can whip up the mix in literally two minutes, requires no churning, no ice cream maker, egg yolks, rock salt. None at that nonsense. And it’s fluffy. Seriously fluffy. No one will believe you that you didn’t buy it from some fancy artisan creamery or spend hours cranking the churn. It’s really that good. Just whip up the cream, add a few simple ingredients, and freeze. With the booze addition, I do recommend prepping this recipe a day before because it can take a bit longer to set up. This is the perfect adult St. Paddy’s recipe but can also be enjoyed year-round!
{No Churn} Mint Chocolate Irish Cream Ice Cream
Ingredients:
2 cups (1 pint) heavy cream
1 14-ounce can sweetened condensed milk
1/4 cup 2% milk
3/4 cup Irish Cream whiskey
1 vanilla bean pod, scraped OR 2 teaspoons pure vanilla extract
1 cup of mint chocolate chips (optional)
Green food coloring (optional)
Directions:
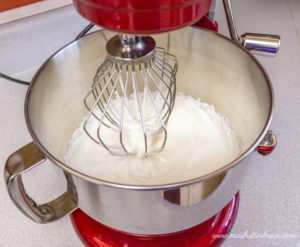
1. Whip heavy cream until stiff peaks appear.
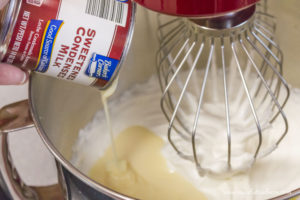
2. Add sweetened condensed milk, milk, Irish Cream Whiskey, and vanilla until combined.
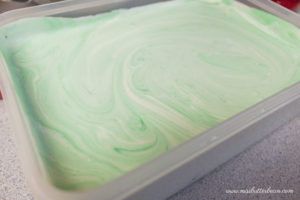
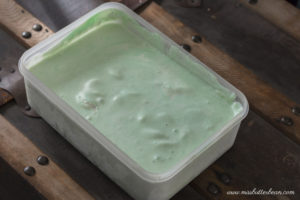
3. Add mint chips and swirl in green food coloring (optional) and pour into a freezer safe container.
On a recent drug store visit, I was quickly sidetracked by the adorable Easter section. Pastel, glitter, and cute bunnies had completely taken over aisle three! Inspired by the sweeties, I thought up a fun treat to make for the kiddos, an Easter or Spring party, or just because!
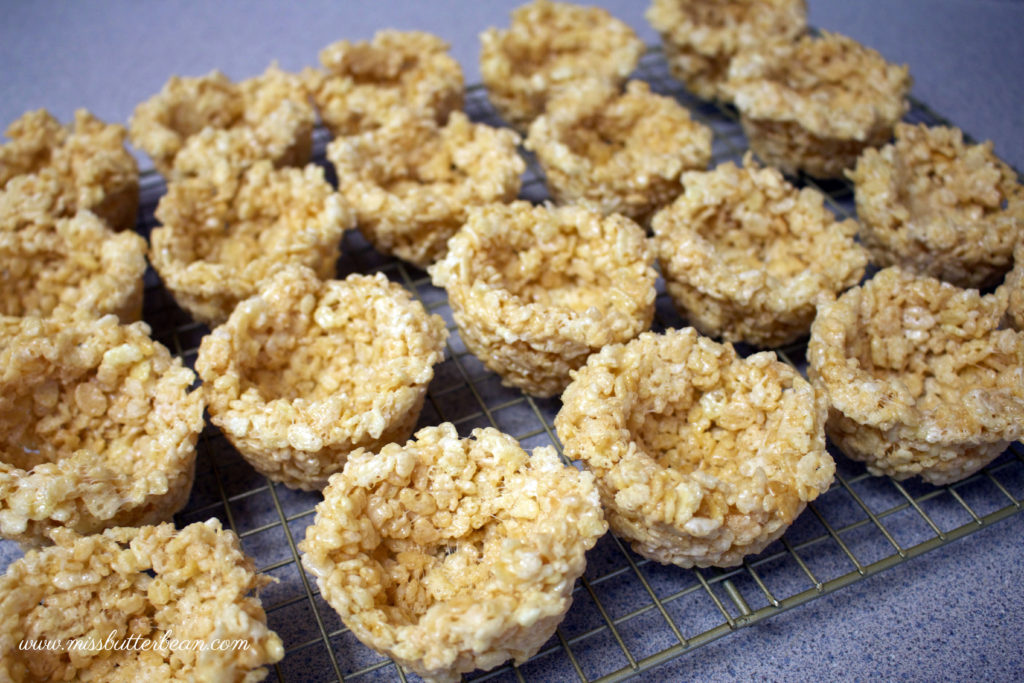
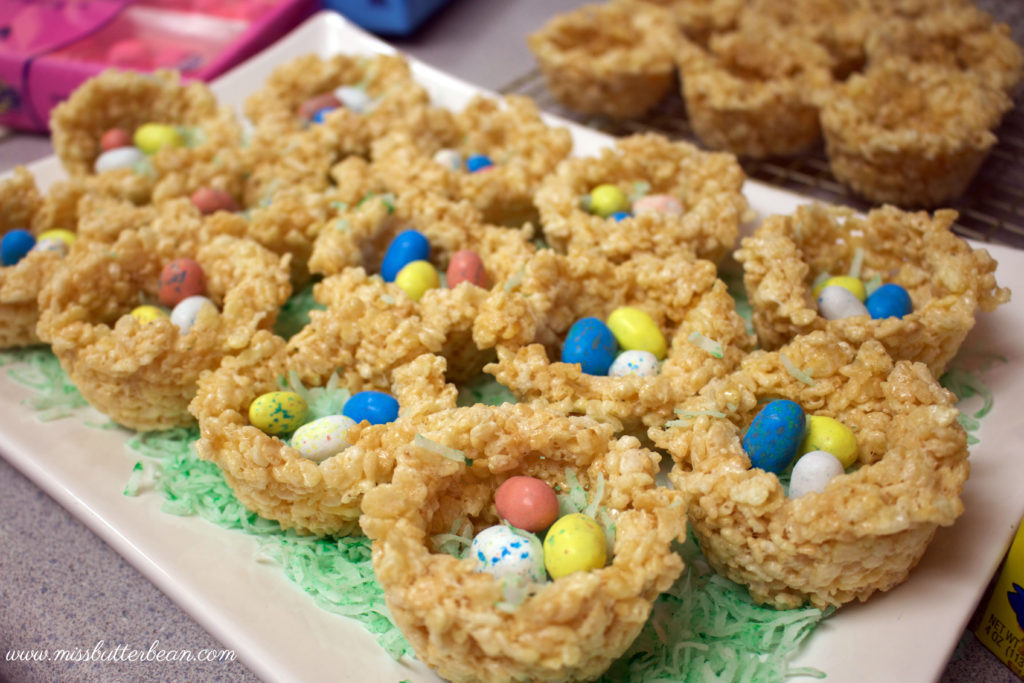
The idea for this recipe is super simple–make a batch of Rice Krispies Treats, line them into a cupcake tin to create the nests. Sprinkle with coconut dyed with green food coloring for the grass, hide a few candy eggs in the nests, and top with a Peep.
Step-by-step directions are below!
Rainbow Easter Egg Nests – Makes 24 Nests
Ingredients:
For the Rice Krispies Treats Nests
6 cups Rice Krispies cereal
3 tablespoons butter
1 package (10 oz., about 40) marshmallows OR 4 cups mini marshmallows
For the “grass” filling:
2 cups of coconut
green food coloring
Candy decorations:
(2) 4 ounce packages of Whoppers mini Robin Eggs (or your favorite egg-shaped candy)
(3) packages of Easter peeps
Directions:
To make nests:
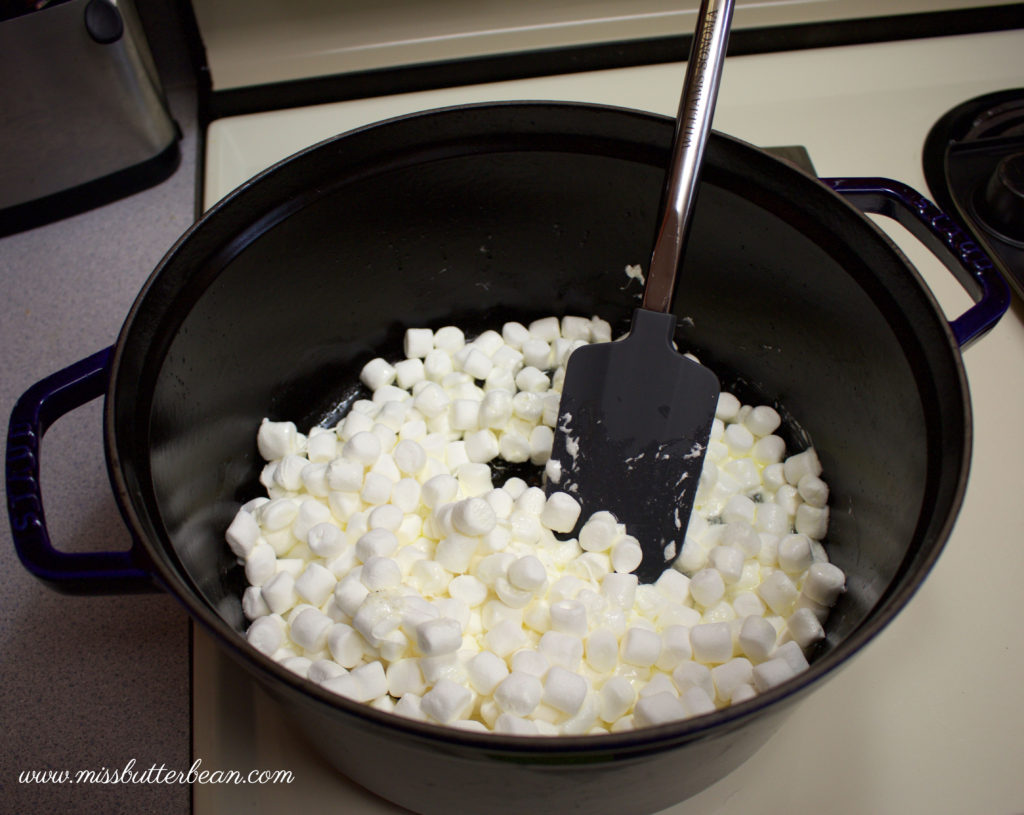
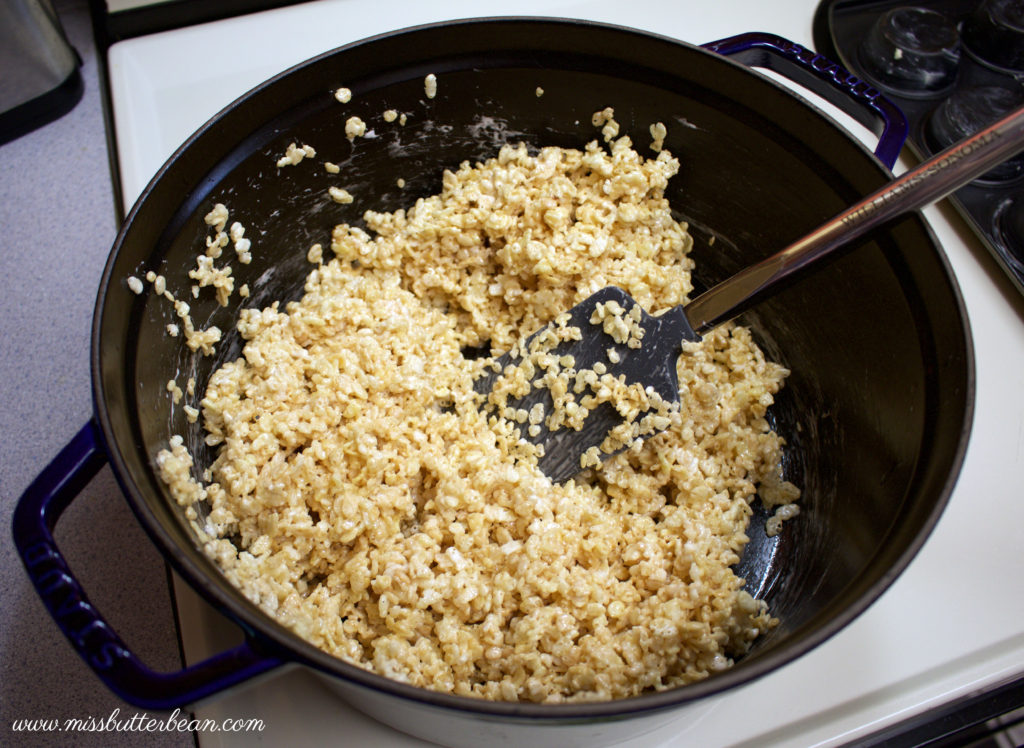
1. In large saucepan melt butter over low heat. Add marshmallows and stir until completely melted then remove from heat.
2. Add Rice Krispies cereal and stir until well coated.
3. Working quickly and being careful not to handle while it’s too hot, Use buttered hands or wax paper to evenly press approximately 1/2-2/3 cup of mixture into two buttered muffin pans. Cool.
4. Pop the nests out of the muffin pans and line on a cookie rack.
To make coconut “grass”:
1. Place coconut in a bowl, add a few drops of green food coloring, and stir with a fork until incorporated and mixture looks like grass.
Decorate!
Sprinkle a tablespoon of the coconut “grass” in the nest, hide a few eggs on top, and nestle an Easter peep on top. You’ll have plenty of extra grass so use it to decorate your display!
This really is the best oatmeal recipe. Ever. Seriously. There isn’t any butterscotch, butter (or scotch, for that matter!) but you’d swear it is sinfully delicious because of how creamy, smooth, and rich butterscotch-ity it tastes.
This has been my go-to breakfast for about 6 weeks now because of how hearty, delicious, and QUICK it is to make. To save even more time, what I usually do is make a double batch for us at the start of the week and then store it in the fridge to heat up as needed. An extra splash of milk when reheating brings it right back to life and it is just pure heaven. I’ve also mixed things up by adding various toppings like dried fruit, sautéed apples, cinnamon, bananas, and chocolate chips. I hope you enjoy!
Best Ever Butterscotch Oatmeal
Serves 6
Ingredients:
Directions:
1. In a medium-sized pot over medium heat, whisk together the milk, egg, and brown sugar, stirring constantly to avoid the egg from curdling. Whisk for several minutes until the mixture is frothy.
2. Add the oats and stir until thickened, a few minutes.
Is it really that time of year again? If you’re in the market for a flu shot but either don’t have insurance or your insurance doesn’t cover flu shots, it can be such a pain to find the best price. For three years running, I’ve done the research so you don’t have to, and for the third year in a row, I am stunned at the price differences out there. By simply checking this list first, a family of five could spend a total of $74.95 instead $164.95, a huge savings of $90!
The below prices are the cash price, without going through health insurance. To help ensure accuracy, I called three different locations from each store/pharmacy (in Charleston, SC and surrounding areas in January of 2016) and was quoted the below prices.Please note that prices may vary depending on your location, special promotions being run, etc. so I strongly recommend calling the location you prefer to confirm price and availability when scheduling your appointment, particularly since many stores run out of the different vaccination types or have long lines this time of year. Some stores also run special promotions, offer coupons, or match competitor prices so check your local ads and store policies before you head out the door.**
With all the Christmas decorations stripped from my door and walls, my house has really been feeling a little too Grinch-like. Thankfully, Valentine’s Day is just around the corner so I’m getting ready with some fun Valentine’s ideas that I thought I’d share. Lots of love to you all!
I’ve really had a blast making these cute clothespin wreaths. It’s an easy-to-follow “recipe”, allows for tons of creativity, and is a really inexpensive craft. In case you missed them, I also have a patriotic 4th of July version and a Christmas version if you want to check those crafts out. Even in the dead of winter, my 4th of July wreath is one of my most popular blogs posts and a lot of readers write in to request other ideas so I thought I’d share my latest version, just in time for Valentine’s Day.
What you’ll need:
12″ Wire Wreath. These are sold in the florist section of any craft store or most Walmarts for around $3. You can also buy them on Amazon.
75 Clothespins (you’ll use 69 but I spray up 75 to have extra to choose the best from). I found Walmart was the cheapest at $1.98 for a pack of 100.
Pink, white, and red spray paint. I went with Krylon Indoor/Outdoor since I wanted something to hang outside. I also went with high gloss but you can do whichever you like. My colors were Cherry Red, White, and Oxford Blue, all in Krylon Satin. They cost about $3.50 a can at Walmart. You’ll have a ton left over so keep that in mind for future projects or if you want to make extra for gifts.
Valentine’s Day decorations. This is where your creativity can really come out. I picked up some cute sparkly heart stickers from Michael’s that came in sparkly pink, red, and white. The pink didn’t quite work so I just used the white and red but you can really go nuts on the decoration. Walmart, Target, and even Dollar Tree each carry cute Valentine’s items that would be great to use. You can also opt to not add anything to the painted clothespins.
Hot glue gun & hot glue
Ribbon to hang the wreath
Premade bow or buy ribbon to make your own. Pick whatever bow or ribbon to make a bow that you like. I fell in love with this sparkly heart ribbon and made my own bow but Michael’s also has lots of adorable pre-made bows if you don’t want to go to the trouble.
Directions:
Spraying time! I suggest working outside and laying down some cardboard so you can chuck your items on it and spray to your heart’s content. Your wire wreath will be green so spray both sides with your Krylon white spray paint so the green doesn’t peek through.
Spray Paint Clothespins: You’ll need 23 red, 23 white, and 23 pink clothespins. FYI, not every wire wreath and clothespin measurement is identical so the total number needed might be off so I always spray 25 of each so I have a few extra. If you have a gap or the count was off a bit you can always hide it with the bow. 🙂
The clothespins come pre-clipped to a piece of cardboard so I left them attached and sprayed the uglier of the two sides first, let dry, gave it another quick coat, let dry again, then sprayed the prettier side with 3-4 coats, drying in between. The drying time is short so it’s really not that time consuming and when you have your assembly line of red, white, and pink clothespins side-by-side it’s pretty quick and easy. Be sure you spray at various angles to get the sides and crevices nice and coated. And avoid spraying paint into your open mouth like I did. Let everything dry completely before assembling.
Assembly Time: Now that your clothespins and wire wreath are ready, it’s time to put it all together. You’ll notice that your wreath is basically four rings. You’ll be attached to the center two rings which I’ll call #2 and #3 from top to bottom.
Pick a starting point (See above picture and start top and center and move to the right of the wire divider.) and pick one color to start with. If you look at the four rings from top down, clip your first clothespin to the 2nd ring.
With your second clothespin, clip it to the 3rd ring.
With the third, you’ll clip to the 2nd ring again and keep on alternating all the way around the wreath.
Add Ribbon: Cut a 17″ piece of ribbon and glue or tie around the back wire part of the wreath.
Hot Glue Time: It’s time for gluing! Work from the back and glue any loose clothespins to the back wire part of the wreath or in between the clothespins themselves, just to secure them on to the wire wreath.
Add Decorations: Glue your various Valentine’s Day decorations to the top, bottom, and middle parts of the clothespins. You can also leave decorations off completely or go nuts like I did.
Helpful Tip: See those nasty glue gun cobwebs? A very quick and easy way to get rid of them is to blow dry them away. Take your hair dryer and apply heat to any offending cobweb and it will shrink back up, essentially disappearing. Just be careful not to apply too much heat or it could remelt the glue you want to stay stuck.
Attach Bow: Finish by gluing or tying on your bow to the bottom of the wreath.
All finished! Just hang indoors or outdoors and you’re ready for Valentine’s Day! I hope you enjoy and if you end up making this wreath and want to share a picture, feel free to send me a private message with a picture or email me at missbutterbean(at)gmail.com. Happy Valentine’s Day and lots of love!
Whether you’re planning a romantic dinner for your honey or bringing in sweets for a classroom celebration, these heart-shaped valentines recipes are guaranteed to have everyone swooning!
<<<2017 UPDATE: Click HERE for the 2016 price list.>>>
Thinking of getting a flu shot? Don’t have insurance and not sure where to go for the best price? Flu season is in full swing so when it came time for us to get our flu shots, I priced out the cheapest options for individuals without health insurance forthe regular flu shot. To help ensure accuracy, I called two different locations from each of the following stores and pharmacies (in Charleston, SC & in January of 2016) and was quoted the below prices. **I do not represent any of the companies listed below. Please note that prices may vary depending on your location and are subject to change at any time so I strongly recommend calling and confirming the price when scheduling your appointment, particularly since many stores run out of the different vaccination types. Some stores also run special promotions, offer coupons, or match competitor prices so always check before you head out the door.**
This year’s best price winner is Costco at $14.99 for the standard trivalent flu shot. Check out my full list for other pharmacies and their price comparisons.
Traditional flu vaccines made to protect against three different flu viruses (called “trivalent” vaccines) are available. In addition, flu vaccines made to protect against four different flu viruses (called “quadrivalent” vaccines) also are available.
Nasal spray flu vaccine (also called flu mist):
All nasal spray flu vaccines for the 2015-2016 season will provide protection against four flu viruses: an influenza A (H1N1) virus, an influenza A (H3N2) virus and two influenza B viruses.
Sorted by Price (tax not included):
Costco: $14.99 standard. The two Costco’s I called said they do not carry either quadrivalent or the mist.
According to their corporate policy, ANYONE can use Costco’s Pharmacy where required by law, with no membership required. Yay! If you don’t have a membership, it’s not a bad idea to print out their pharmacy policy to take with you just in case.
Sam’s Club: $14.99-$20 standard, $30 quadrivalent. They do no carry the nasal spray vaccine.
*According to their site you DO NOT need a Sam’s Club Membership to use their Pharmacy for Rx medications. Although unclear whether flu shots are included in that rule, it does say at most a 10% service fee is added to all other nonmember purchases from the pharmacy so still a great deal. If you don’t have a membership, it’s not a bad idea to print out their pharmacy policy to take with you just in case.
Target: $24.99 standard, $31.99 quadrivalent, $31.99 nasal spray vaccine. *If you have a Costco in your area, many Targets do price match.
Walmart: $25 standard, $30 quadrivalent. They do not carry the nasal spray vaccine.
Kmart: $27.99-$29.99 standard, $37.99-$39.99 quadrivalent. They do not carry the nasal spray vaccine. *Please note that they offered a few trivalent options ranging up to $55 but the least expensive was $27.99-$29.99, though the pharmacists did confirm that prices vary by store. Please call ahead of time to confirm availability and price.
CVS: $31.99 trivalent, $34.99-$56.99 quadrivalent. They do not carry the nasal spray vaccine.
Walgreens: $31.99 trivalent, $39.99 quadrivalent. Both stores I called no longer carried the nasal spray vaccine, and said Walgreens had only received limited quantities per location, and were unable able to quote me a price.
Have a store or pharmacy to add? Care to list a pricing update? Feel free to leave a comment below!
Okay, it’s tough to admit this but, for me, the best part of a Super Bowl party is the food. There. I said it. I love the commercials and getting together with friends but a party with lots of yummy appetizers is what gets me cheering. So as I started planning my own party this year, I figured I’d put together my personal top 50 list to share. If only there were enough people and enough crockpots in my house so I could make all fifty! Enjoy!
With the start of a new year, I thought it might be fun to do something a little different and take myself (and possibly you) on a fun history lesson. Instead of looking at what the most popular fashions, music, and fashion were from 2015 or predicted for 2016, why not look at what was popular a hundred years ago? So here’s a fun little list of the most popular fashions, foods, and music “pins” from 1916.
So what was life like in 1916? To start, the United States had just entered World War I, unlike anything the world had ever experienced before. Patriotism in the U.S. was at an all-time high and citizens were encouraged to help with the war effort by enlisting, planting gardens to help with the diminishing food supplies, purchasing war bonds, and much more. Women and African Americans were encouraged for the first time in our nation’s history to work the types of jobs that had typically only been offered to White men.
With women entering the workforce, uniforms became quite the novelty and even little girls would sew uniforms for their dolls. The U.S. saw women’s hemlines shorten to allow for more movement when working and helping support the war effort and hairstyles also started to shorten. Despite the war, women’s fashion grew while becoming more practical. Even though corsets were still worm by most women clothes became less fitted.
1916 Hollywood
The most popular movie of the year was D.W. Griffith’s “Intolerance” which cost $385,907 to make, considered one of the most expensive movies at its time.
The top five girl names were Mary, Helen, Dorothy, Margaret, and Ruth. The top five boy names were John, William, James, Robert, and Joseph.
1916 Recipes
And last, but not least, here’s a fun digital copy of one of the more popular cookbooks of the time, Good Housekeeping Woman’s Home Cookbook with such American favorites as Cottage Pudding, Sweetbread Salad, and An Inexpensive Cake.
Amazing how much has changed in 100 years and yet a lot is very much the same–we still come together as a nation during war and still love to cook delicious recipes for our families, wear the latest fashions, watch movies (now talkies in color!) and listen to music. Here’s to another 100 years!