 I’ve really had a blast making these cute clothespin wreaths. It’s an easy-to-follow “recipe”, allows for tons of creativity, and is a really inexpensive craft. In case you missed them, I also have a patriotic 4th of July version and a Christmas version if you want to check those crafts out. Even in the dead of winter, my 4th of July wreath is one of my most popular blogs posts and a lot of readers write in to request other ideas so I thought I’d share my latest version, just in time for Valentine’s Day.
What you’ll need:
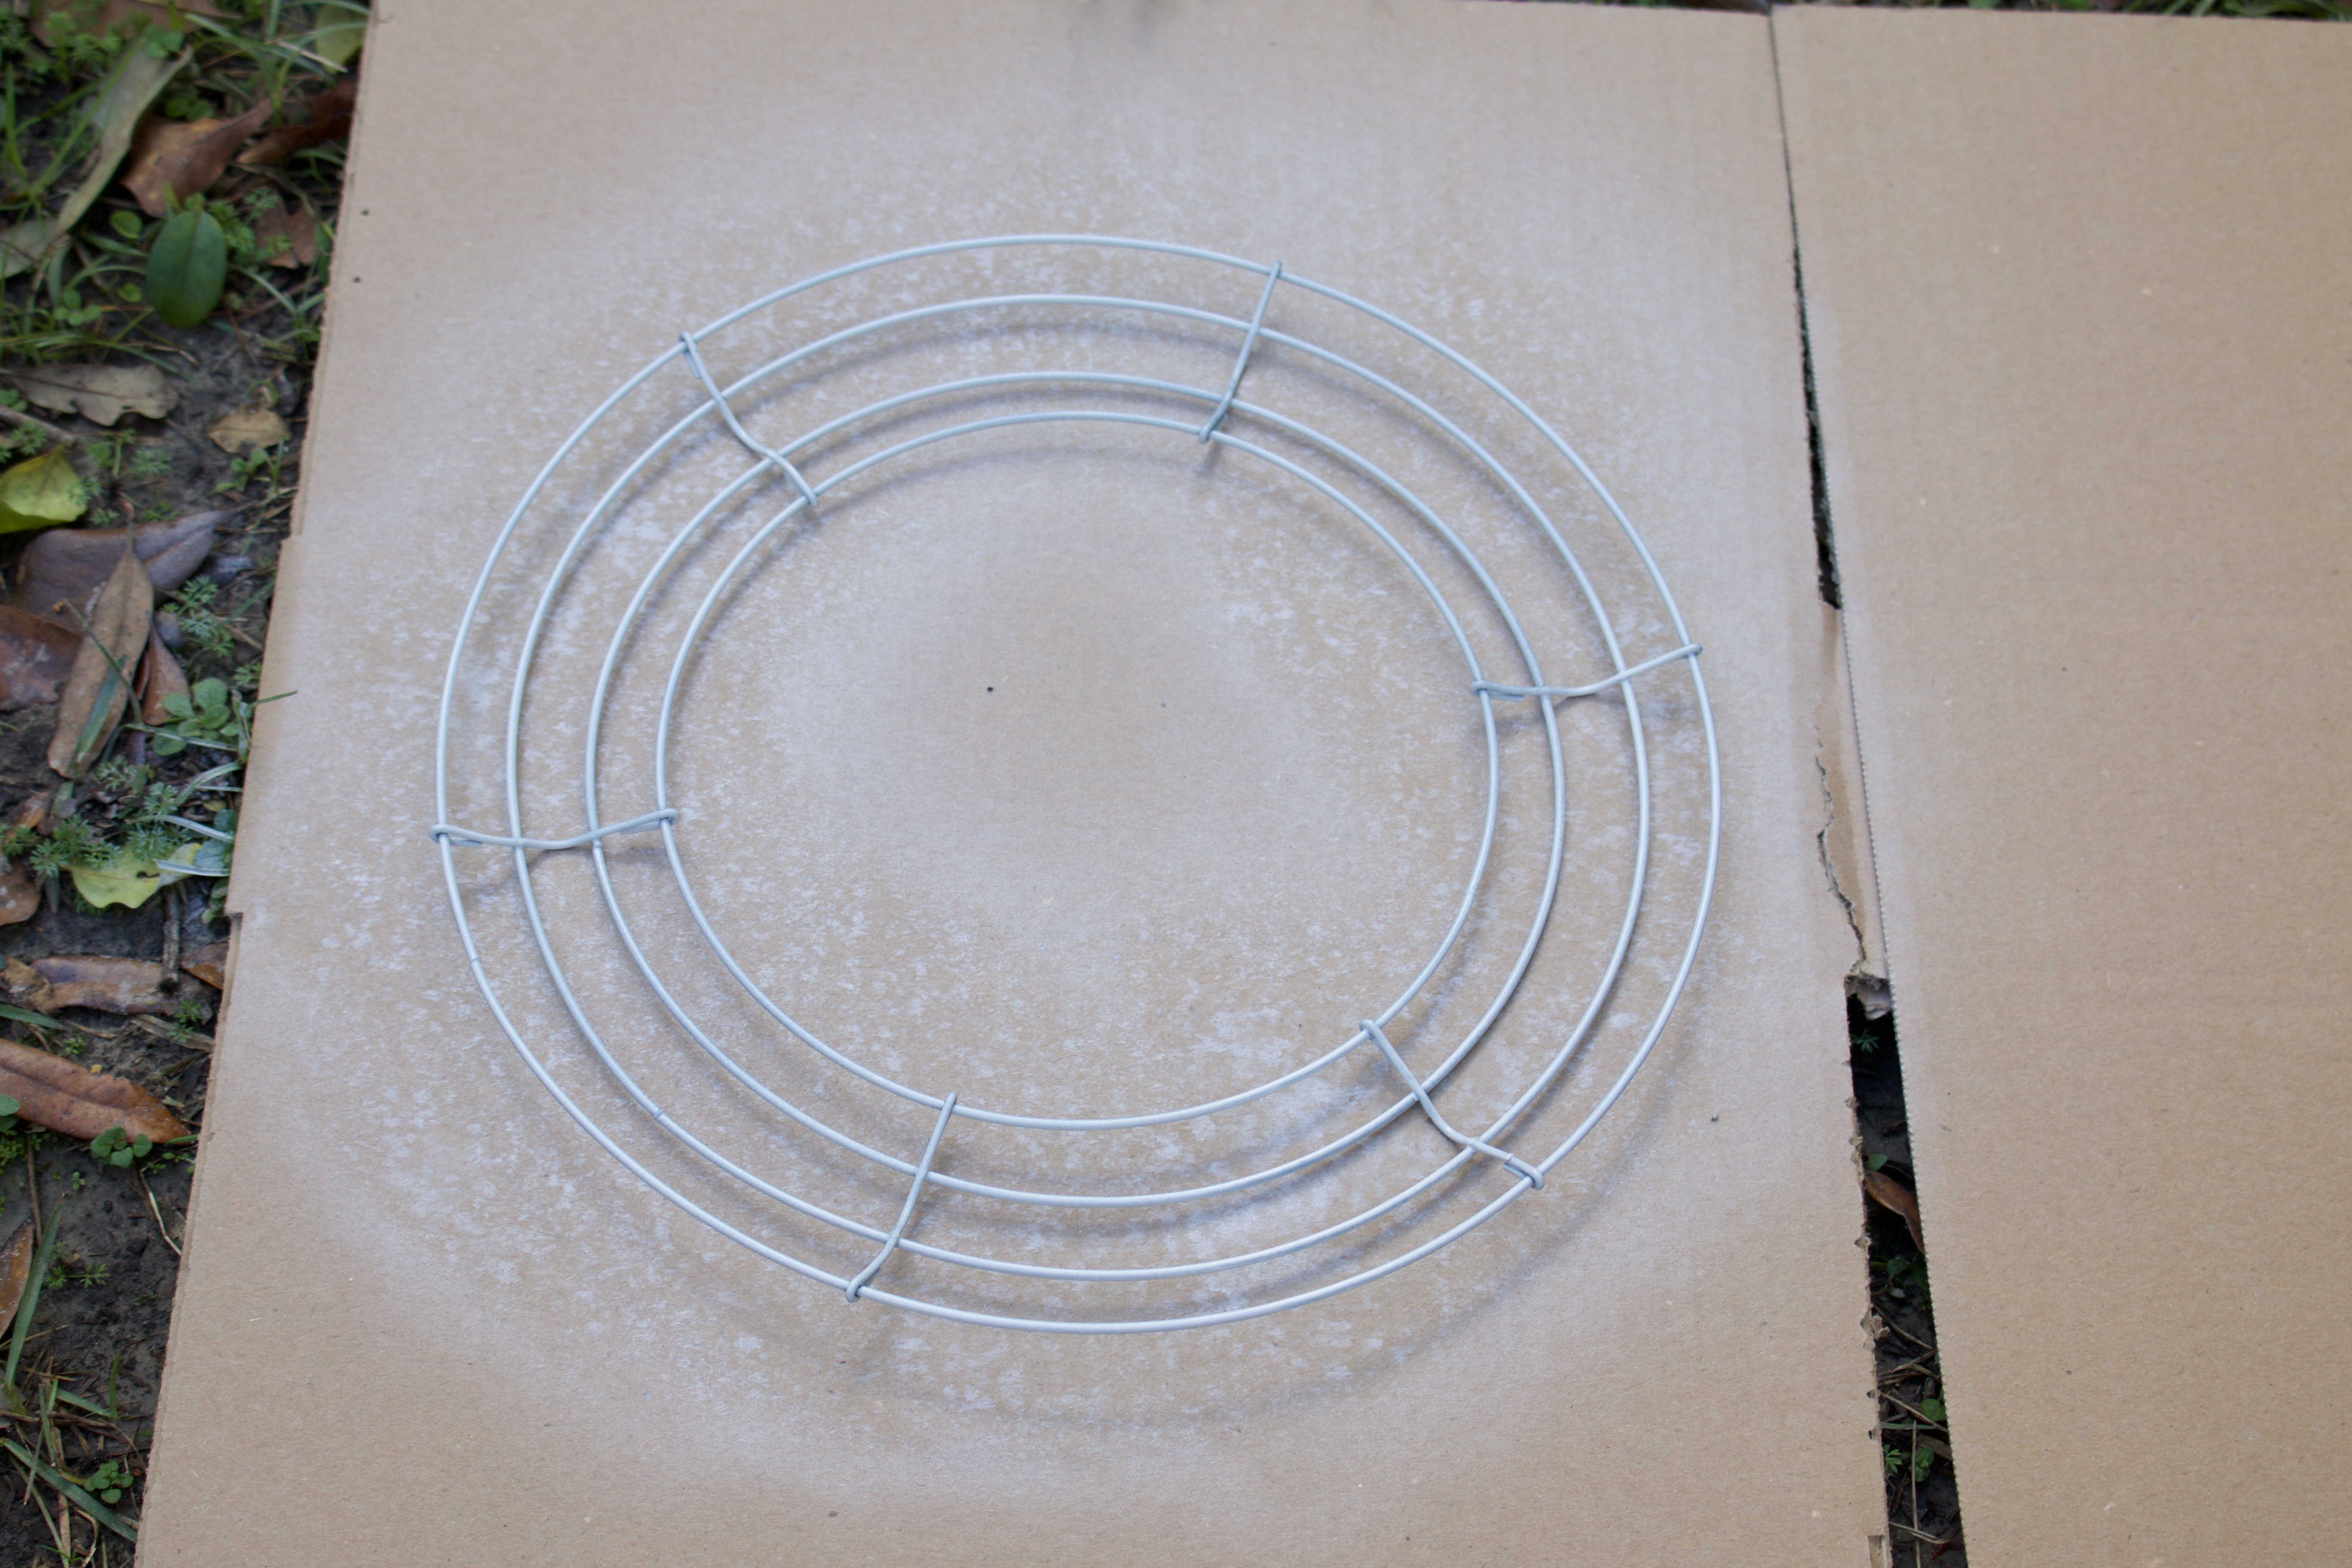
- 12″ Wire Wreath. These are sold in the florist section of any craft store or most Walmarts for around $3. You can also buy them on Amazon.
- 75 Clothespins (you’ll use 69 but I spray up 75 to have extra to choose the best from). I found Walmart was the cheapest at $1.98 for a pack of 100.
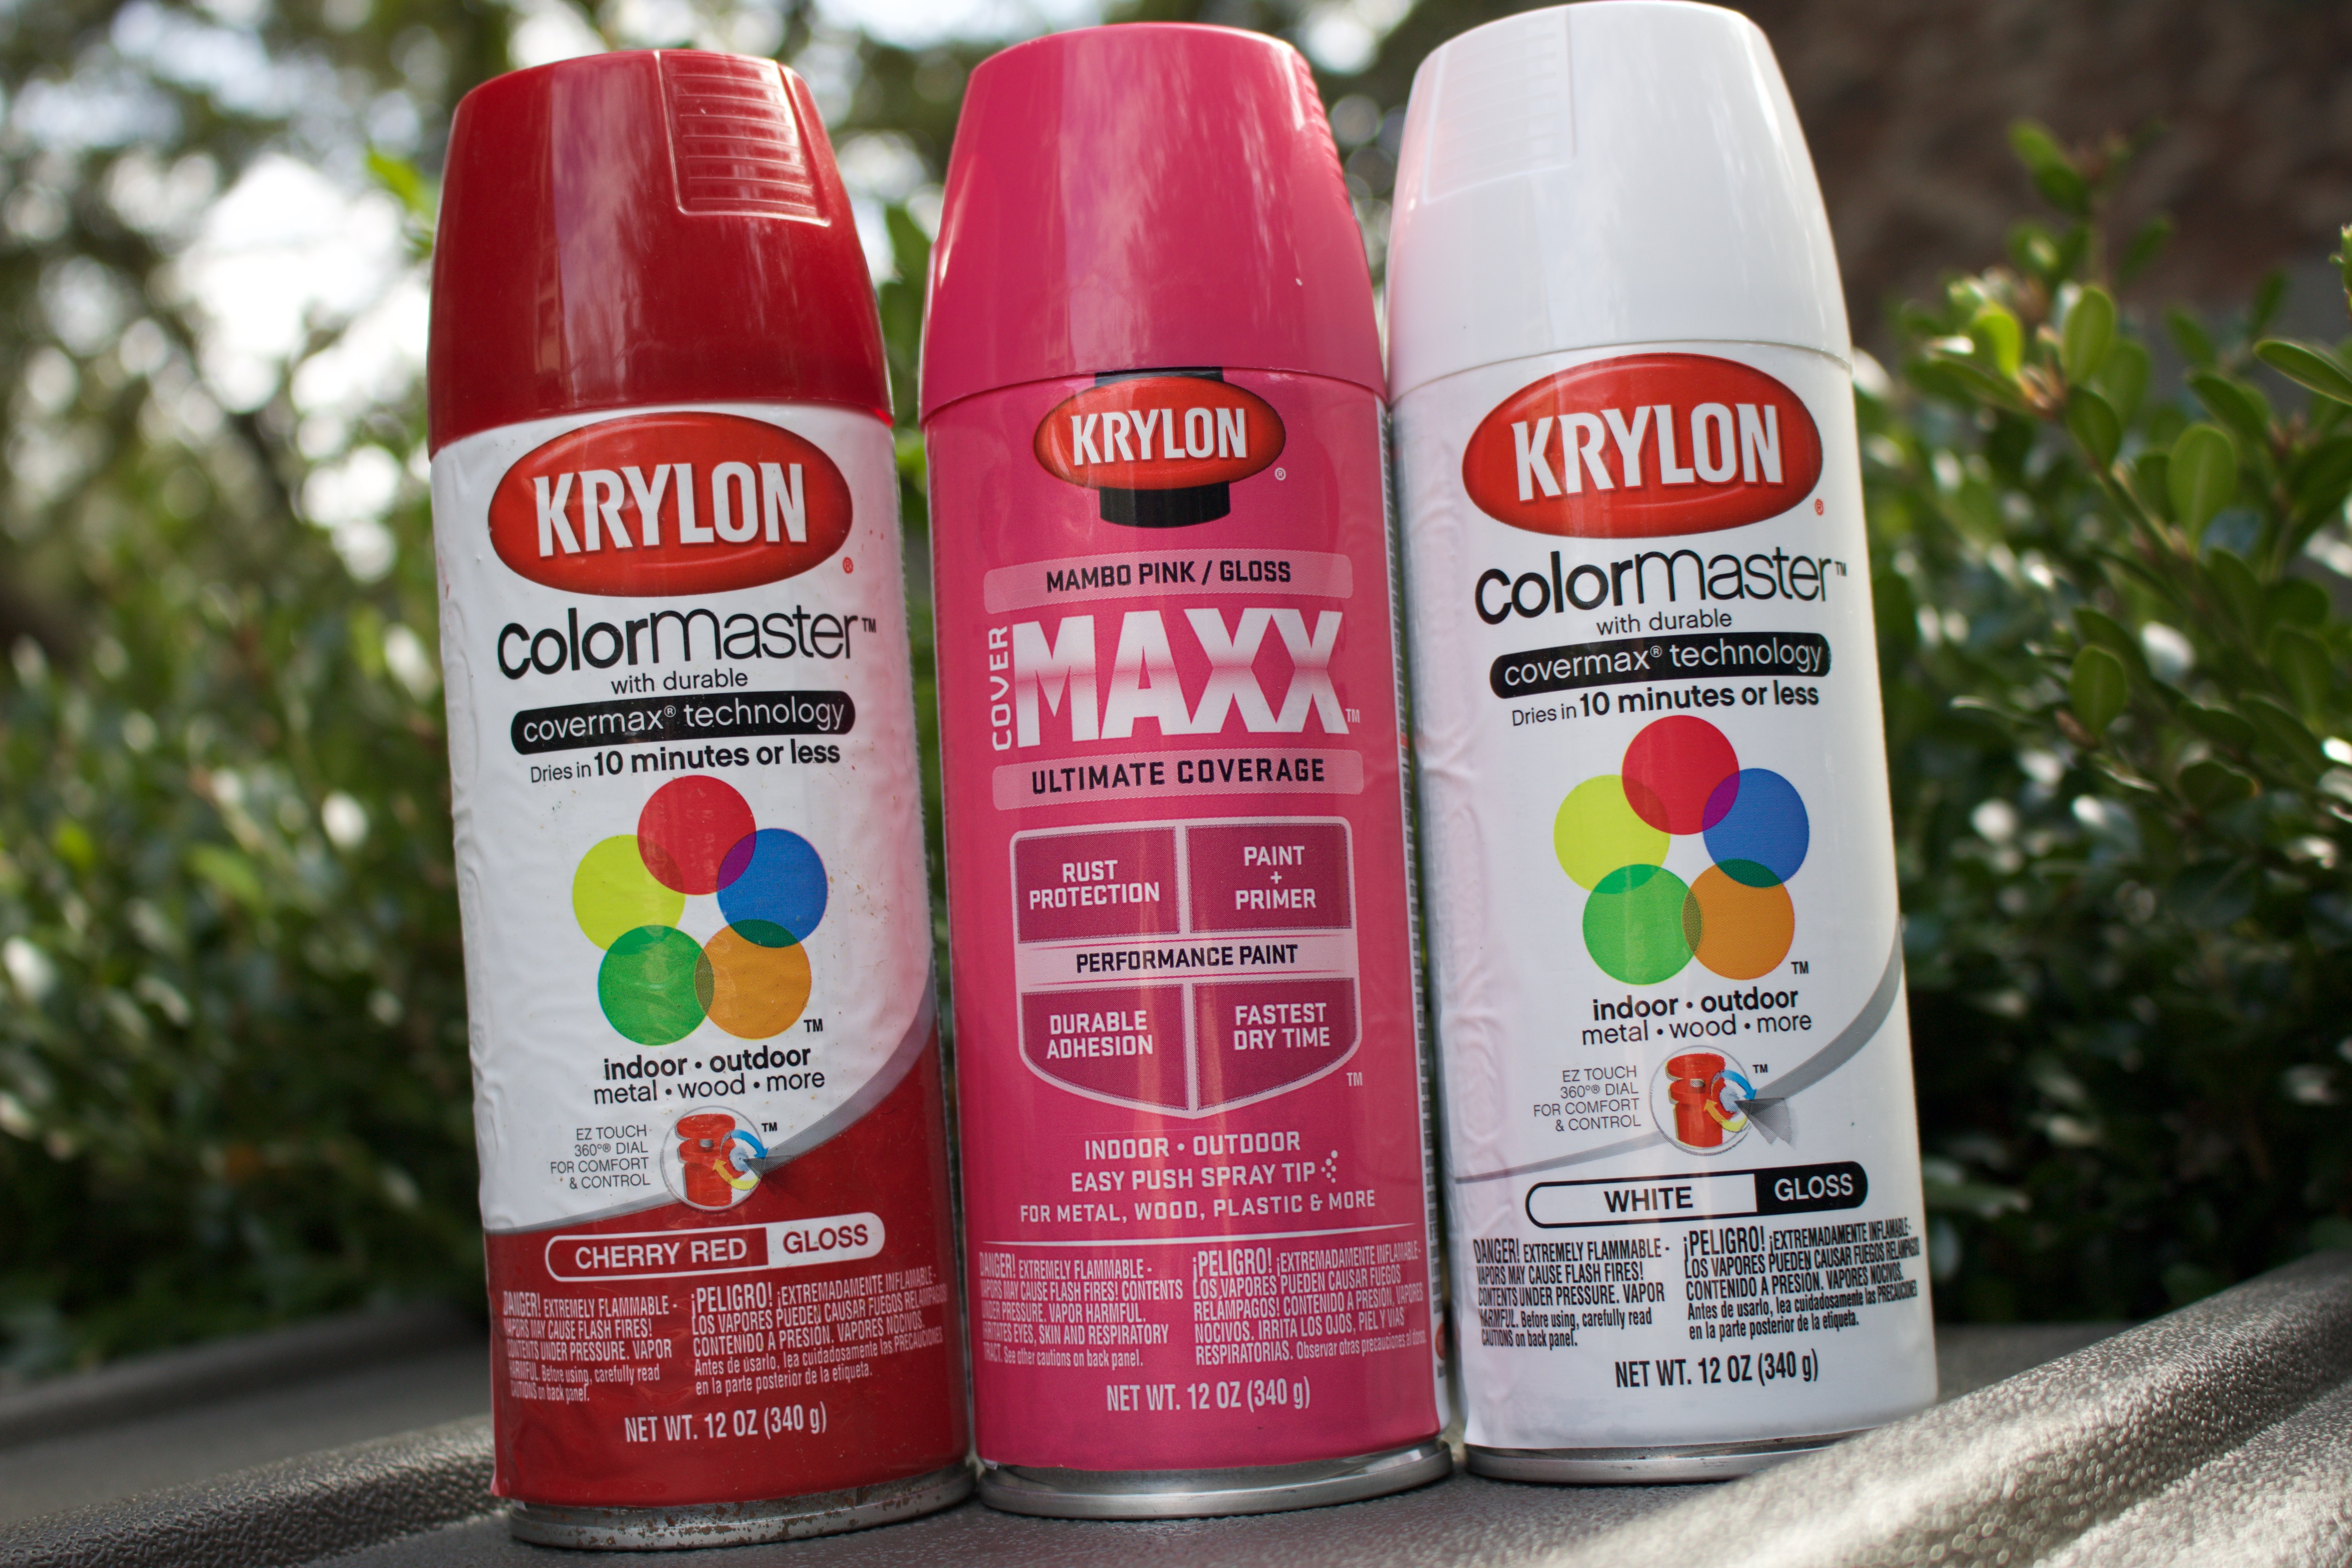
- Pink, white, and red spray paint. I went with Krylon Indoor/Outdoor since I wanted something to hang outside. I also went with high gloss but you can do whichever you like. My colors were Cherry Red, White, and Oxford Blue, all in Krylon Satin. They cost about $3.50 a can at Walmart. You’ll have a ton left over so keep that in mind for future projects or if you want to make extra for gifts.
- Valentine’s Day decorations. This is where your creativity can really come out. I picked up some cute sparkly heart stickers from Michael’s that came in sparkly pink, red, and white. The pink didn’t quite work so I just used the white and red but you can really go nuts on the decoration. Walmart, Target, and even Dollar Tree each carry cute Valentine’s items that would be great to use. You can also opt to not add anything to the painted clothespins.
- Hot glue gun & hot glue
- Ribbon to hang the wreath
- Premade bow or buy ribbon to make your own. Pick whatever bow or ribbon to make a bow that you like. I fell in love with this sparkly heart ribbon and made my own bow but Michael’s also has lots of adorable pre-made bows if you don’t want to go to the trouble.
Directions:
Spraying time! I suggest working outside and laying down some cardboard so you can chuck your items on it and spray to your heart’s content. Your wire wreath will be green so spray both sides with your Krylon white spray paint so the green doesn’t peek through.

Spray Paint Clothespins: You’ll need 23 red, 23 white, and 23 pink clothespins. FYI, not every wire wreath and clothespin measurement is identical so the total number needed might be off so I always spray 25 of each so I have a few extra. If you have a gap or the count was off a bit you can always hide it with the bow. 🙂

The clothespins come pre-clipped to a piece of cardboard so I left them attached and sprayed the uglier of the two sides first, let dry, gave it another quick coat, let dry again, then sprayed the prettier side with 3-4 coats, drying in between. The drying time is short so it’s really not that time consuming and when you have your assembly line of red, white, and pink clothespins side-by-side it’s pretty quick and easy. Be sure you spray at various angles to get the sides and crevices nice and coated. And avoid spraying paint into your open mouth like I did. Let everything dry completely before assembling.


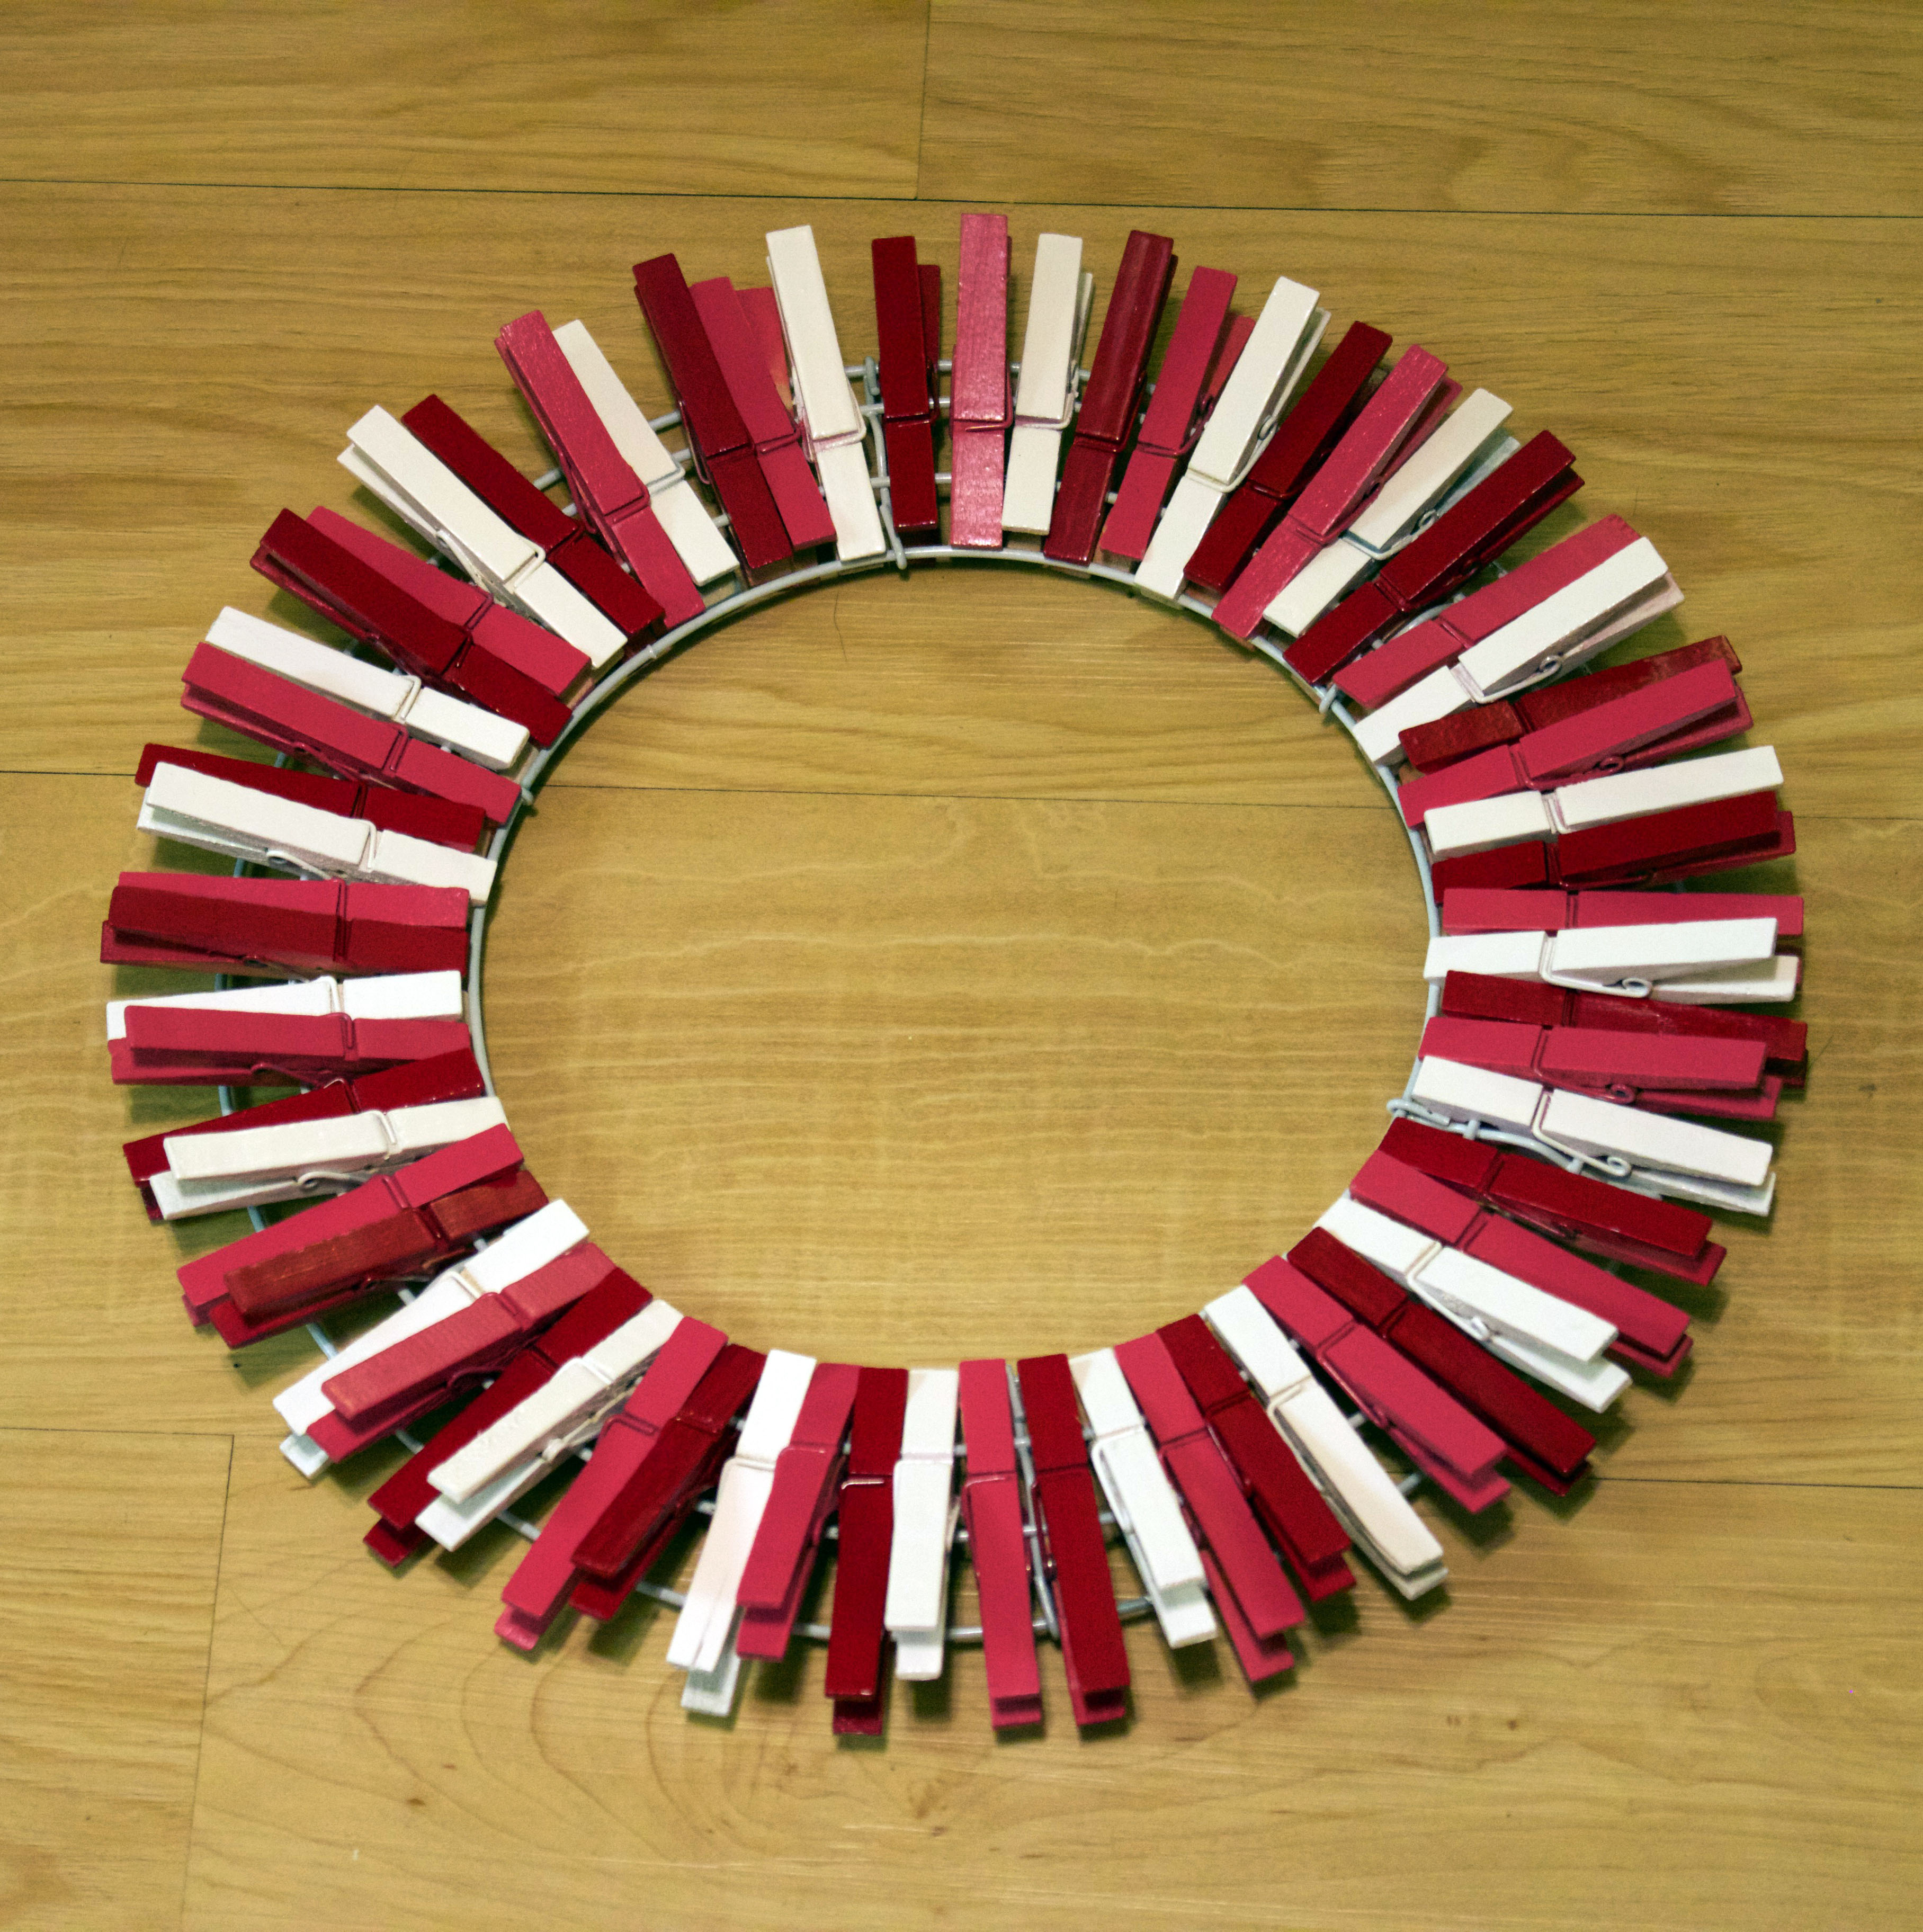
Assembly Time: Now that your clothespins and wire wreath are ready, it’s time to put it all together. You’ll notice that your wreath is basically four rings. You’ll be attached to the center two rings which I’ll call #2 and #3 from top to bottom.

Pick a starting point (See above picture and start top and center and move to the right of the wire divider.) and pick one color to start with. If you look at the four rings from top down, clip your first clothespin to the 2nd ring.


With your second clothespin, clip it to the 3rd ring.

With the third, you’ll clip to the 2nd ring again and keep on alternating all the way around the wreath.

Add Ribbon: Cut a 17″ piece of ribbon and glue or tie around the back wire part of the wreath.
Hot Glue Time: It’s time for gluing! Work from the back and glue any loose clothespins to the back wire part of the wreath or in between the clothespins themselves, just to secure them on to the wire wreath.
Add Decorations: Glue your various Valentine’s Day decorations to the top, bottom, and middle parts of the clothespins. You can also leave decorations off completely or go nuts like I did.
Helpful Tip: See those nasty glue gun cobwebs? A very quick and easy way to get rid of them is to blow dry them away. Take your hair dryer and apply heat to any offending cobweb and it will shrink back up, essentially disappearing. Just be careful not to apply too much heat or it could remelt the glue you want to stay stuck. 
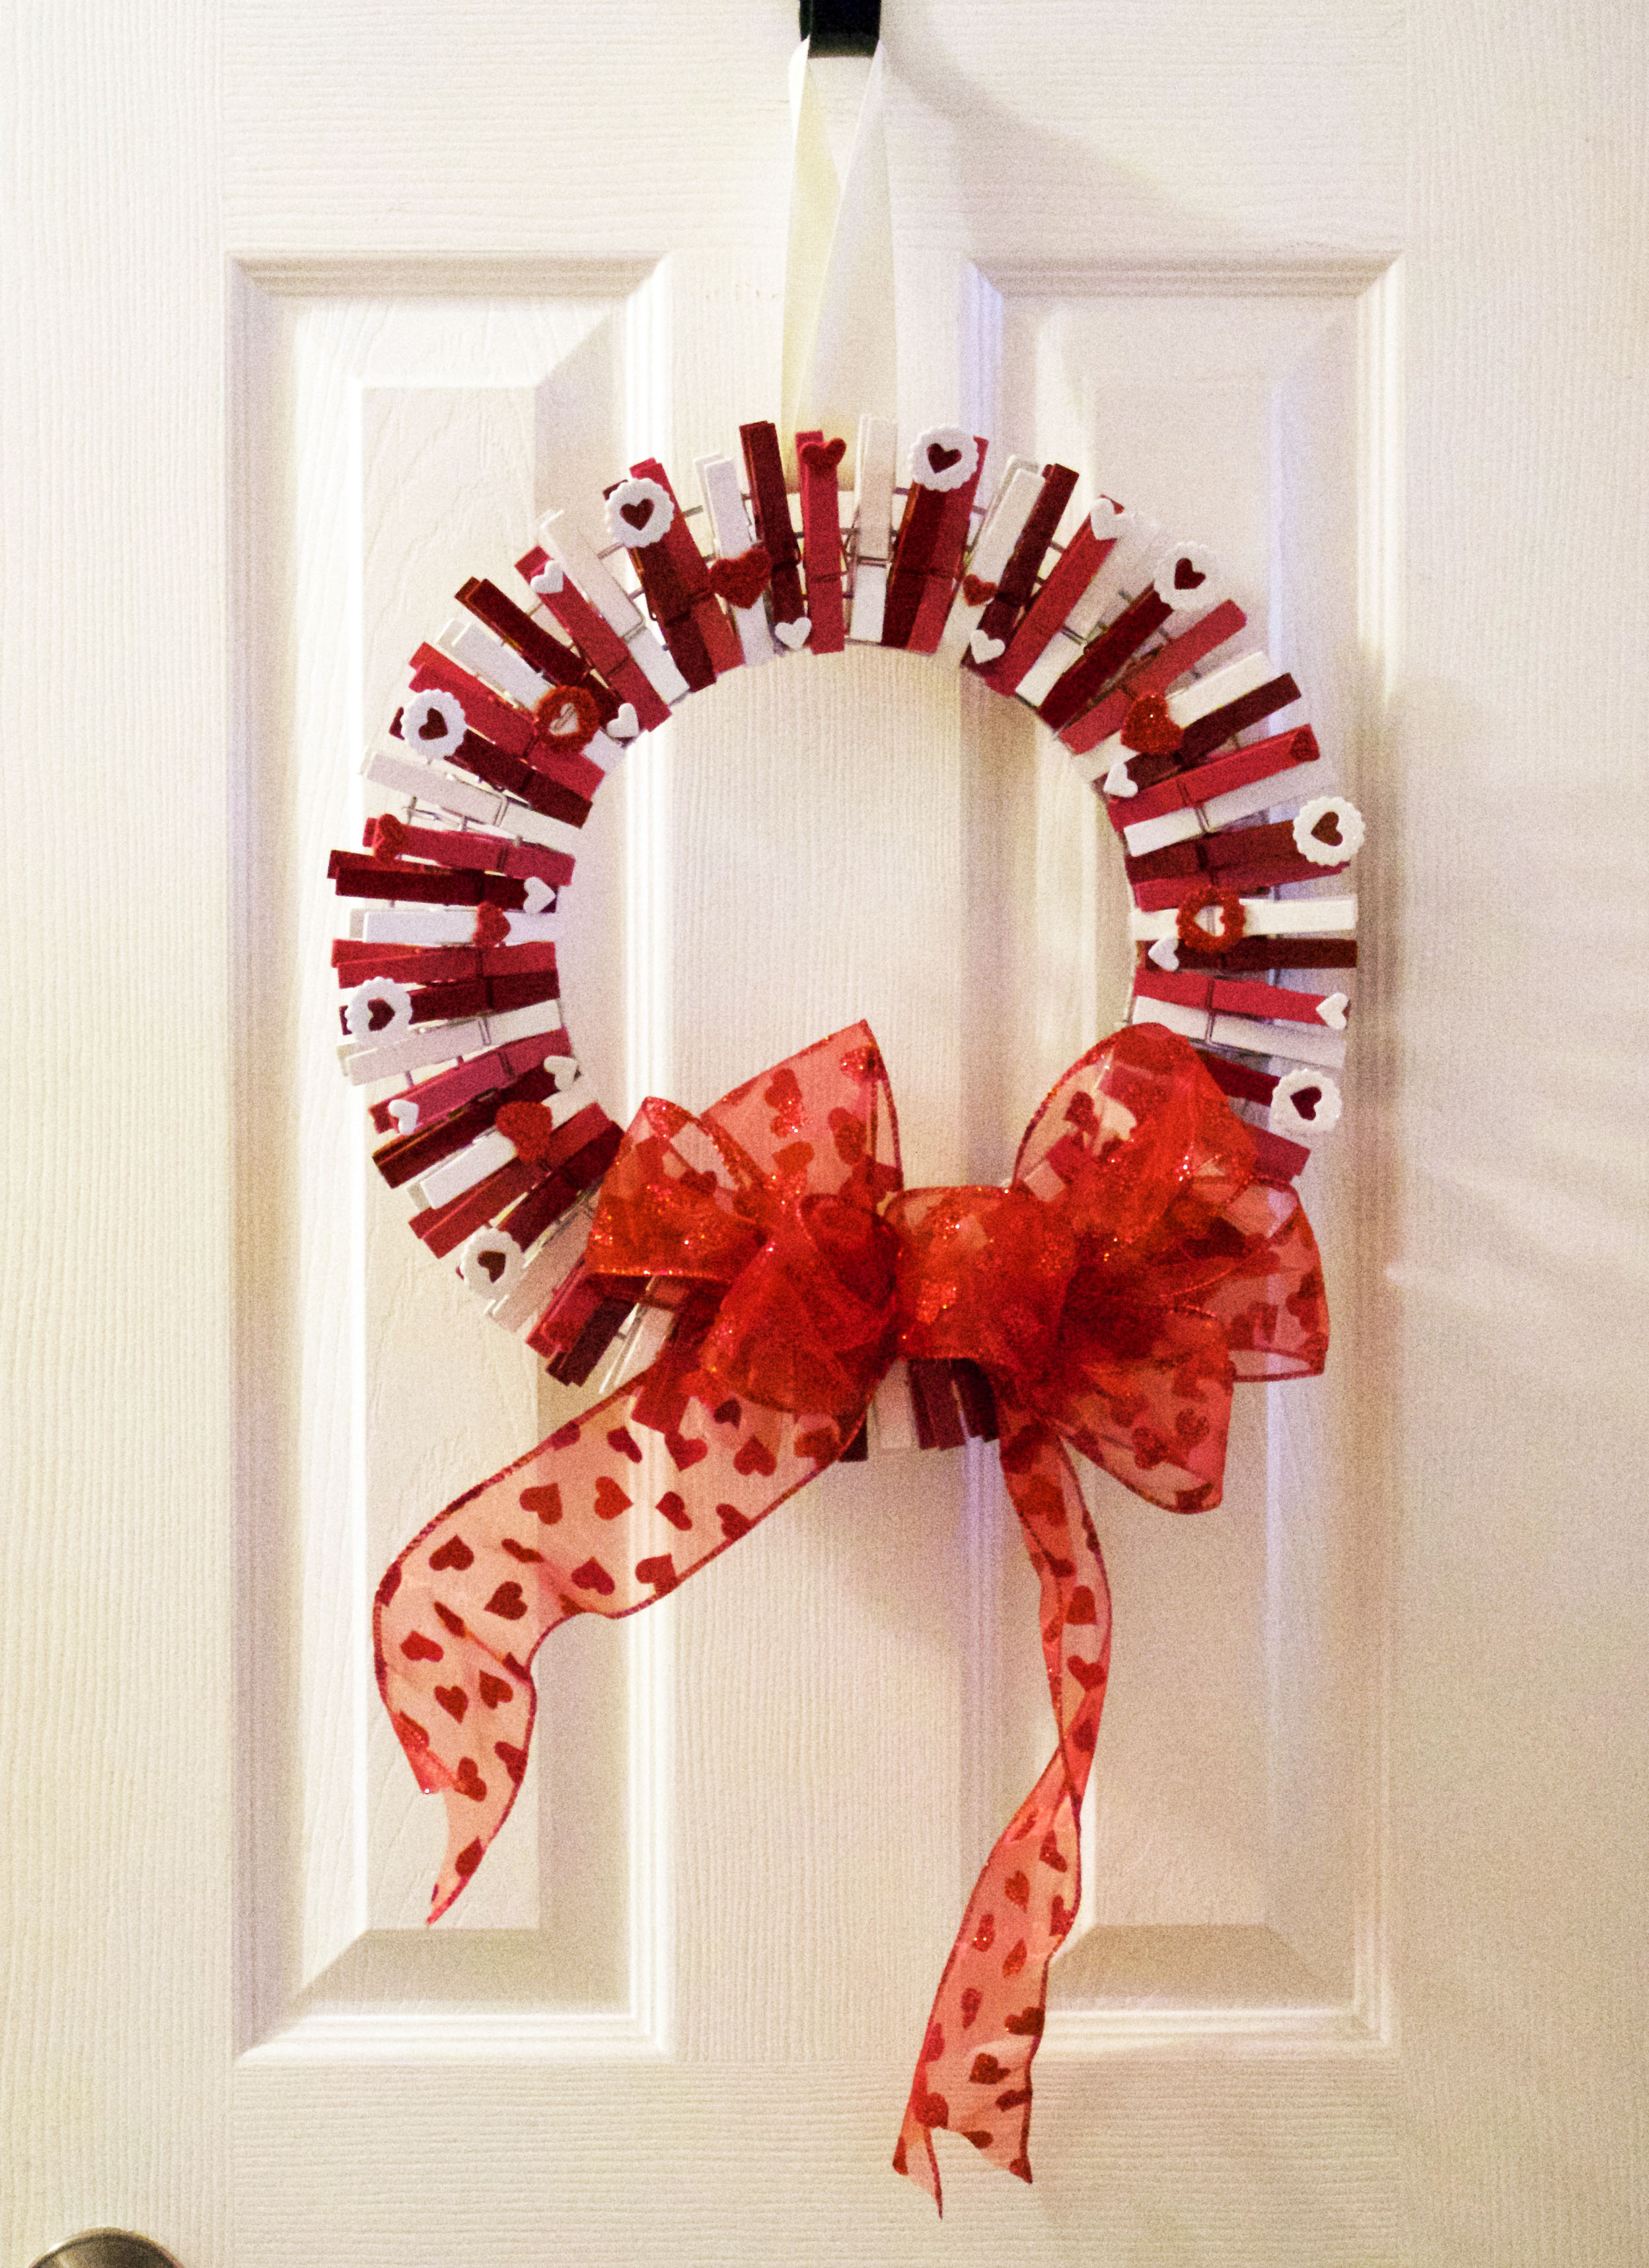
Attach Bow: Finish by gluing or tying on your bow to the bottom of the wreath.
All finished! Just hang indoors or outdoors and you’re ready for Valentine’s Day! I hope you enjoy and if you end up making this wreath and want to share a picture, feel free to send me a private message with a picture or email me at missbutterbean(at)gmail.com. Happy Valentine’s Day and lots of love!

Well done!
Thank you so much, Marthine!
Pingback: 14 Valentine’s Day DIY Decoration Ideas – missbutterbean